Hey friend, picture this: You open your kitchen cabinet to grab a mug, and an avalanche of random lids, half-empty spice jars, and that one weird pan you never use tumbles out like it’s auditioning for a disaster movie.
Sound familiar? Yeah, me too. I finally hit my breaking point last year when I spent 10 minutes hunting for the garlic powder… that was literally sitting on the counter the whole time.
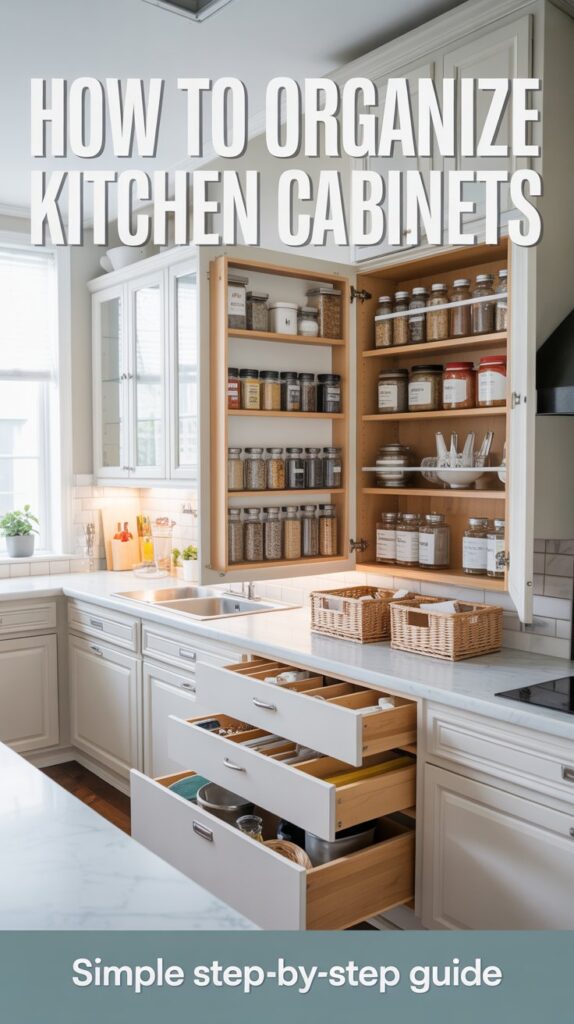
So I rolled up my sleeves, blasted some music, and turned my chaotic cabinets into something I actually brag about to guests. Ready to do the same? Let’s fix those kitchen cabinets together zero judgment, all vibes.
Step 1: The Brutal Purge (Yes, You Have to Do This)
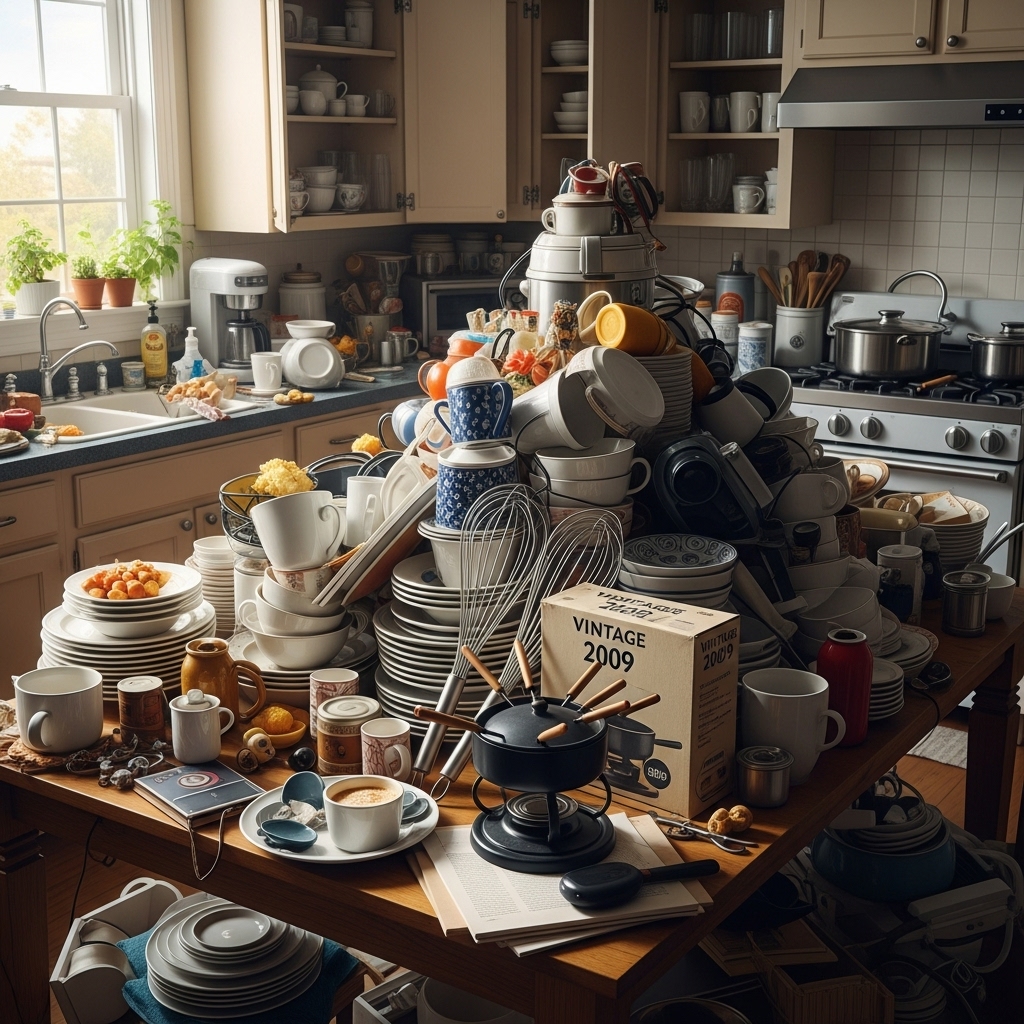
You can’t organize clutter, babe. First rule: empty every single cabinet. Dump it all on the counter, table, wherever. Seeing the mountain of stuff in daylight hits different suddenly you realize you own three identical whisks and a fondue set from 2009 that’s never seen chocolate.
Ask yourself these ruthless questions while you sort:
- Have I used this in the last year?
- Do I even know what this gadget does?
- Would I buy this again today?
If the answer’s no, toss it, donate it, or sell it. I got rid of 40% of my kitchen junk the first round. Felt like therapy, honestly.
Pro tip: Keep three piles keep, donate/sell, trash. And if you’re hesitating over something “just in case,” put it in a box, tape it shut, and date it six months from now. If you never opened it? Bye Felicia.
Step 2: Group Like a Pro (Zone Magic, Baby)

Ever notice how pros on TikTok make kitchens look like art? They use zones. Treat your kitchen cabinets like real estate prime spots for daily stuff, back corners for occasional things.
Here’s how I zone mine (steal this, it works):
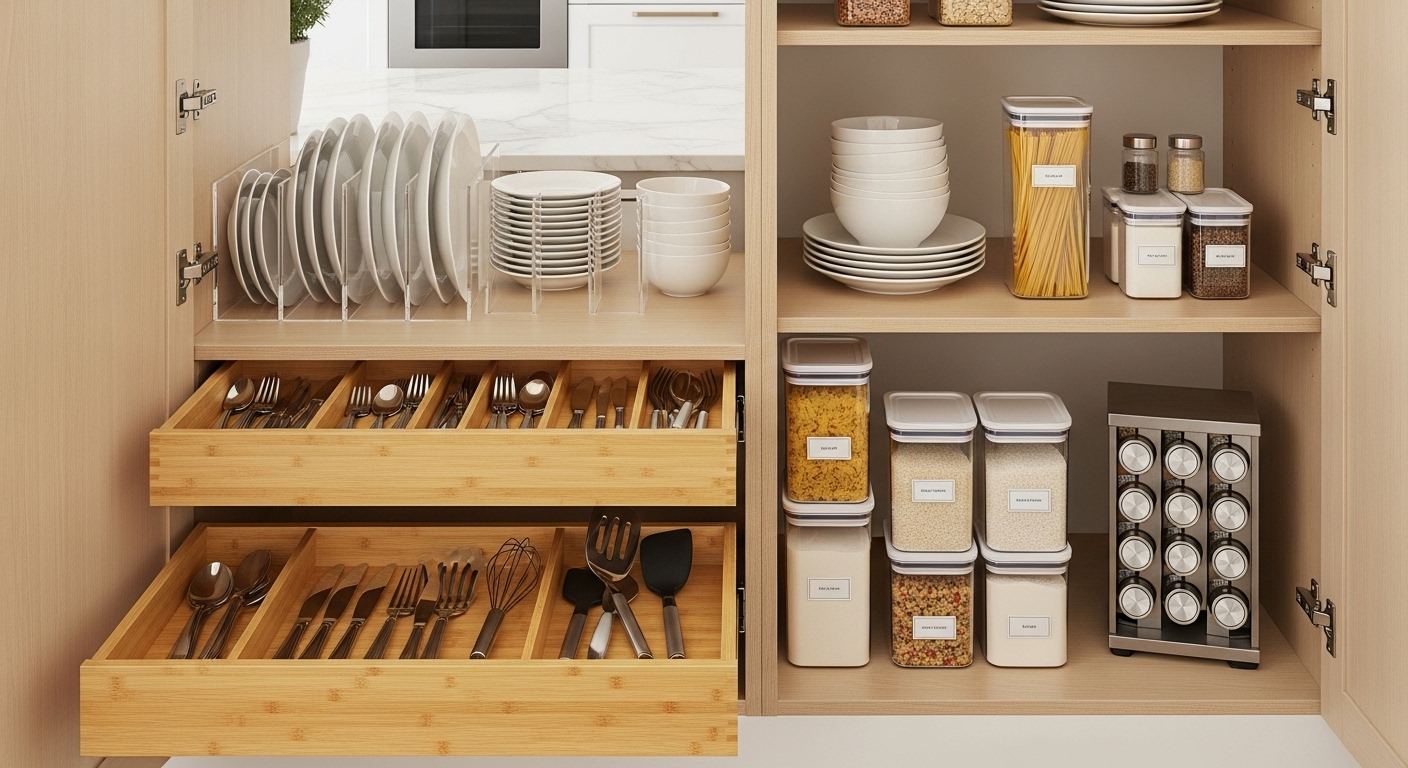
- Cooking zone (near stove): Pots, pans, oils, spices, cutting boards
- Prep zone (near counter space): Mixing bowls, measuring cups, colanders
- Coffee/tea station: Mugs, filters, sweeteners all together so I’m not half-asleep digging
- Food storage zone: Tupperware, foil, ziplocks (lid chaos = solved forever)
- Baking zone (usually upper cabinet): Flour, sugar, sprinkles, baking sheets
Group stuff that lives together in real life. Spices don’t belong next to dinner plates—why make your brain work harder?
Step 3: The Best Organizers That Actually Earn Their Keep
Okay, real talk those pretty Pinterest cabinets? They didn’t happen with wishful thinking. You need some organizers, but not a million. Here’s what I swear by after testing way too many:
Lazy Susans = My Ride-or-Die
Corner cabinets used to swallow things whole. Now? Two-tier lazy susans for oils, vinegars, and sauces. Spin and grab life-changing.
Pull-Out Shelves or Baskets
If your cabinets go deep, these save your knees and your sanity. I installed wire pull-outs under the sink for cleaning supplies. No more crawling on the floor like a raccoon.
Lid Organizers & Stackable Bins
Tupperware lids used to reproduce like gremlins. A cheap lid rack on the door ended that nightmare. Clear stackable bins for snacks keep everything visible and crush-proof.
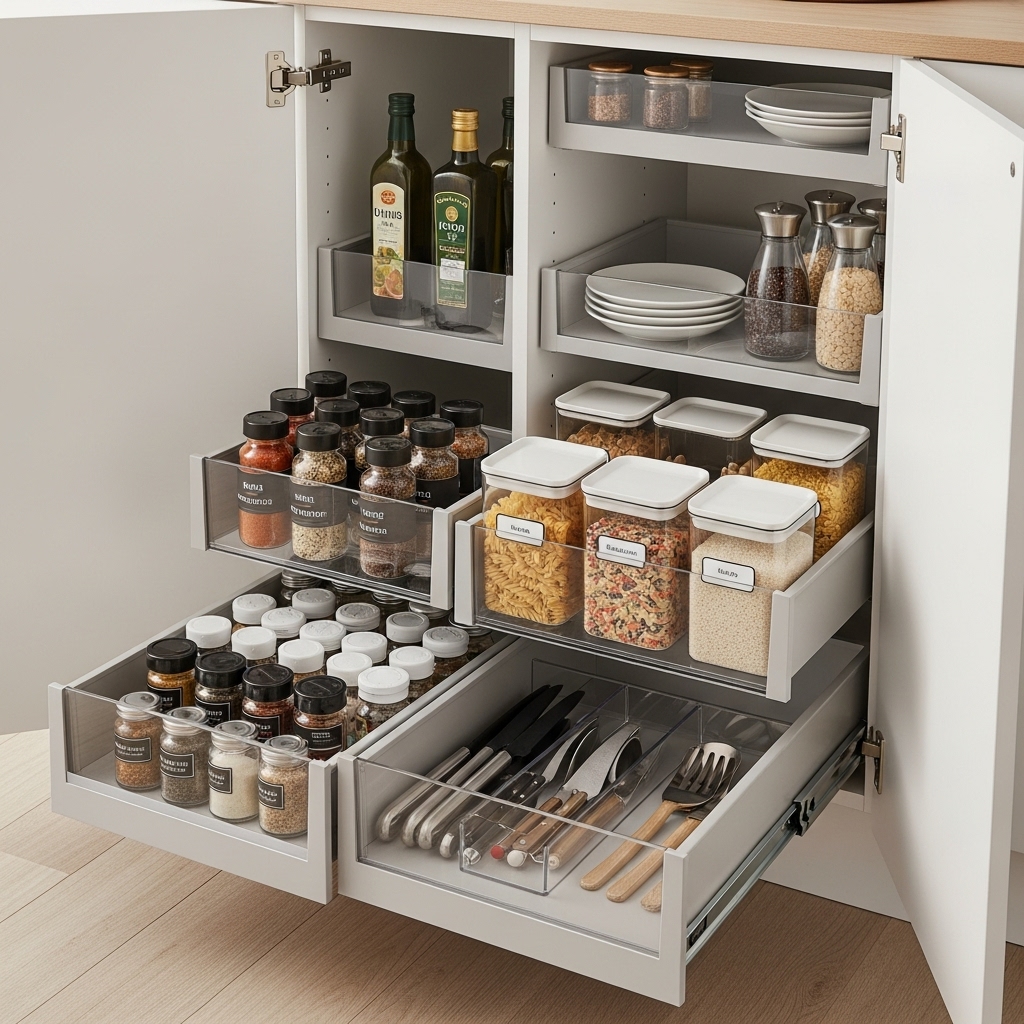
Spice Solutions That Don’t Suck
Drawer inserts > random jars rolling around. I went with tiered ones so I can actually read the labels instead of playing spice roulette every taco night.
Door Real Estate = Free Storage
Over-the-door racks for pot lids, cutting boards, or even foil/wraps. People ignore doors, but they’re gold.
Step 4: The “Pretty But Functional” Labeling Hack

Labels make you feel like an adult, okay? I use a cheap label maker and slap names on bins, jars, everything. “Weeknight Pans,” “Fancy Glassware,” “Do Not Touch Baking Chocolate.” Sounds extra, but now my partner actually puts stuff back right. Miracles happen.
Step 5: Upper vs Lower Cabinet Rules (Because Physics)

Heavy stuff low, light stuff high. I learned this the hard way when a cast-iron skillet almost took me out.
Lower cabinets get:
- Cast iron
- Small appliances (mixer, blender)
- Pots and pans
Upper cabinets get:
- Glasses and mugs
- Spices
- Dry goods
- Rarely-used platters
Also, everyday dishes go at eye level or just below. Why stretch on tiptoes for the plate you use three times a day?
Step 6: Maintenance (The Part Everyone Forgets)

You’ll feel like a boss for exactly one week… then life happens. Set a 10-minute “reset” every Sunday night. I throw on a podcast and put stray stuff away. Takes longer to find a show than to actually do it.
Quick maintenance hacks:
- One-in, one-out rule for new gadgets
- Wipe shelves when they’re empty (spills happen)
- Reassess every season—yes, even organized kitchens evolve
Conclusion
Organizing your kitchen cabinets is a game-changer that pays dividends in time, money, and peace of mind. By decluttering, zoning, and using smart tools, you’ll create a space that’s functional, beautiful, and uniquely yours. Start small if needed one cabinet at a time and soon your entire kitchen will flow effortlessly. You’ll wonder how you ever lived with the mess!
Frequently Asked Questions
How long does it take to organize kitchen cabinets? For an average kitchen, plan 4–8 hours spread over a day or two. Larger kitchens or heavy decluttering may take a full weekend.
What if I have a small kitchen with limited cabinets? Focus on multi-functional tools like stackable bins, door racks, and vertical dividers. Purge aggressively and use wall or ceiling hooks for extra storage.
Are expensive organizers necessary? No! Dollar-store bins, repurposed jars, and DIY dividers work great. Invest in a few key pieces like a lazy Susan if your budget allows.
How do I organize deep cabinets? Use pull-out shelves or baskets. Store less-used items in the back with a “grabber” tool handy.
What about organizing pots and pans? Nest pans with protectors, hang lids on door racks, or use a deep drawer with pegboard dividers for customizable slots.