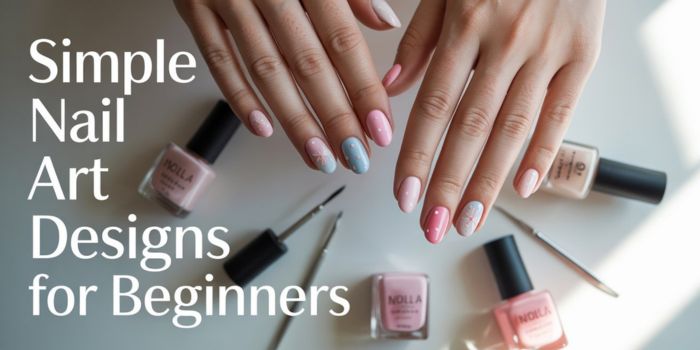
Nail art? Oh, it’s more than just polish it’s personality at your fingertips. You don’t need to be a pro or have a drawer full of fancy tools to dive in.
With just a little patience and a splash of imagination, you can create something eye-catching, charming, or straight-up chic right at home.
From sweet and simple to fun and flirty, these 12 easy nail art ideas are the perfect starting point for beginners looking to add flair to their fingertips.
1. Dotticure Nail Art
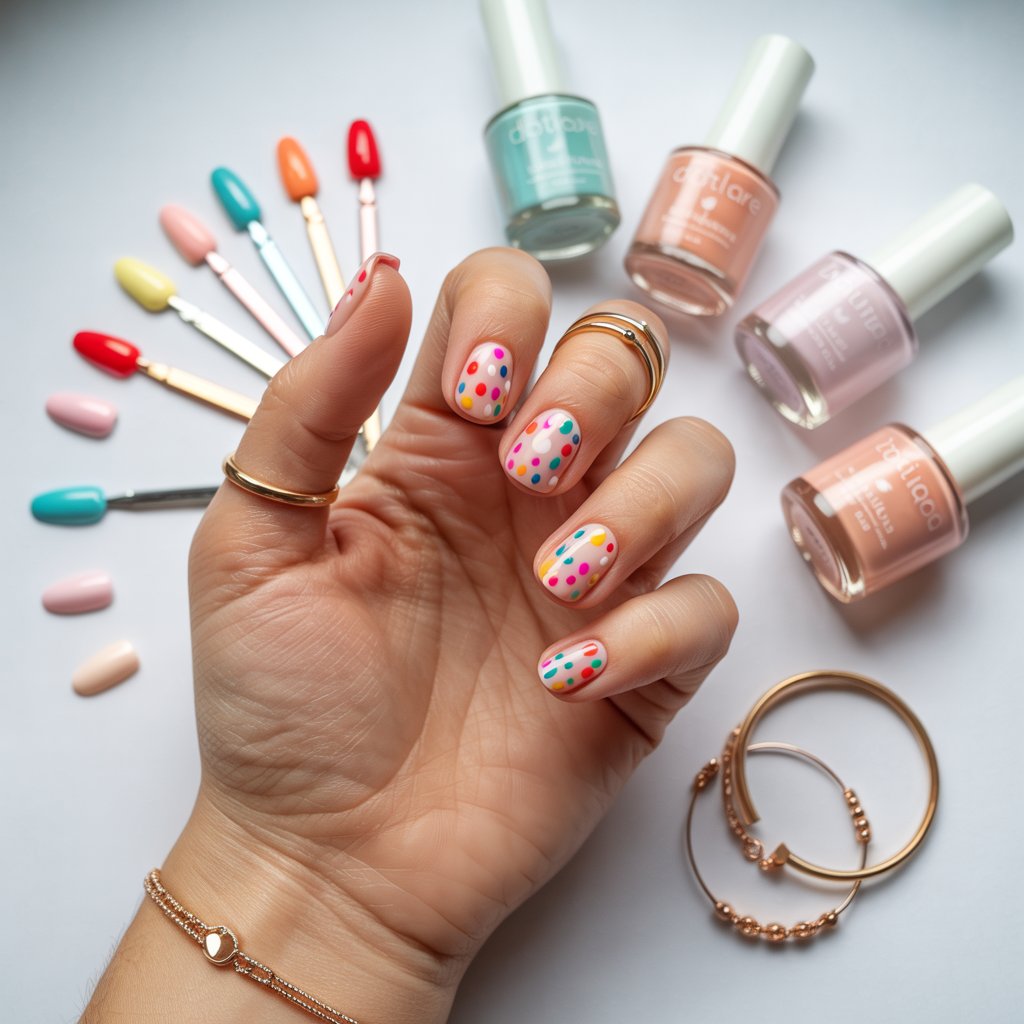
Dotticure nail art strikes the perfect balance between simplicity and charm ideal for beginners yet stylish enough for seasoned nail lovers.
This playful technique centers around clusters of dots, scattered or structured, in endless combinations of colors, sizes, and patterns. Whether you’re going for soft pastels or bold brights, the result is effortlessly eye-catching.
It’s a design that feels both whimsical and chic, offering limitless possibilities with just a dotting tool and a touch of creativity.
How to do it:
- Apply a base coat to protect your nails.
- Paint two coats of your favorite base color (a soft pink works well).
- Using a dotting tool or the tip of a bobby pin, create dots in clusters on your nails. Use three different sizes and shades for a charming effect.
- Finish with a thick layer of top coat to seal the design and add shine.
This design is simple yet sophisticated and can be adapted with any color palette you like1.
2. Realistic Amethyst Nail Art
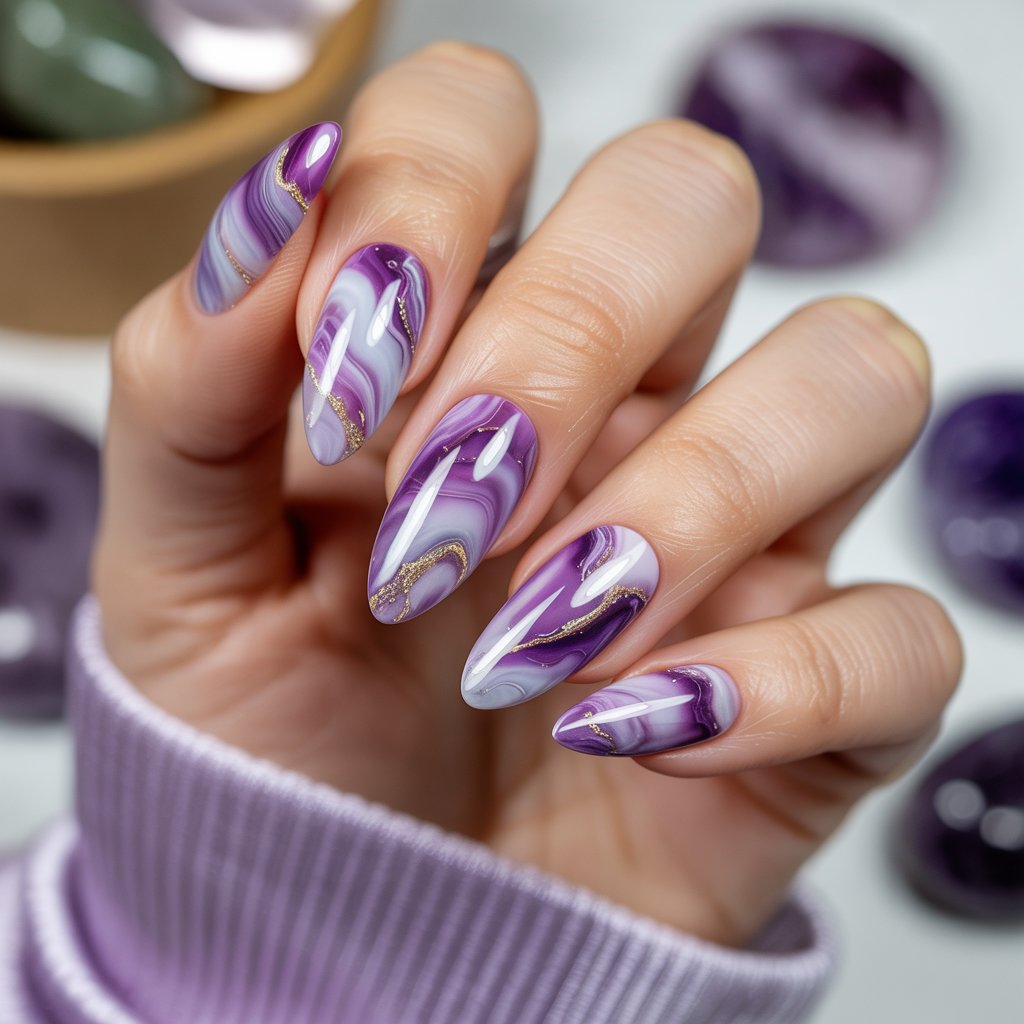
Channeling the mystique of amethyst, this nail art design draws inspiration from the mesmerizing swirls of violet quartz.
With its layered marble effect, each nail mimics the intricate veining found in natural crystal, creating an aesthetic that feels both luxurious and ethereal.
The blend of soft purples, icy whites, and delicate shimmer gives the manicure a refined yet otherworldly appeal. It’s perfect for anyone craving a touch of elegance with a bit of cosmic charm at their fingertips.
Steps:
- Start with a base coat.
- Apply two coats of lilac or violet nail polish.
- Place a few drops of a deeper purple polish on your nail.
- Cover your nail with cling wrap and gently dab to create a marble texture.
- Add fine gold detailing with a thin brush for a touch of glam.
- Seal with a top coat.
This design is perfect for those who want a creative yet classy look.
3. Rainbow Simple Nail Design
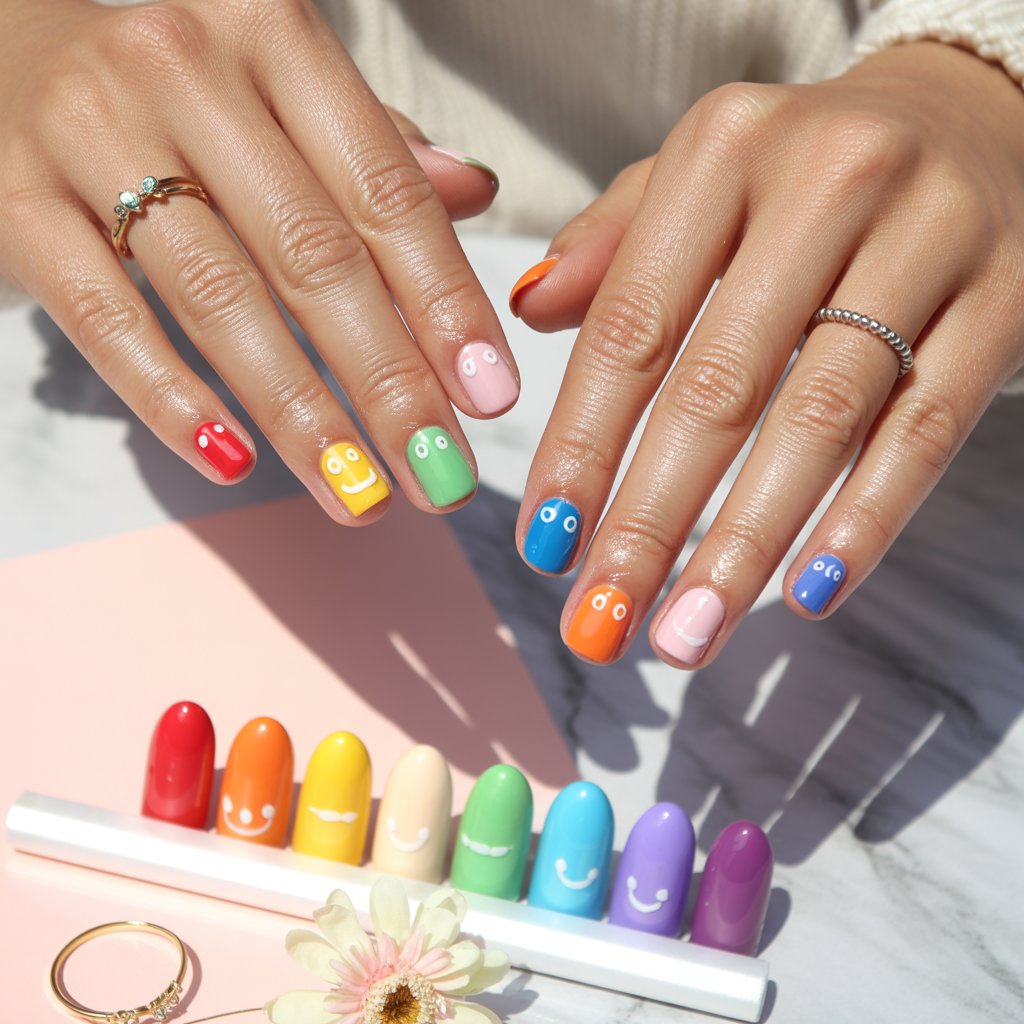
Craving a playful pop of color without the hassle of intricate designs? Try this effortlessly fun idea: paint each nail a different shade of the rainbow.
From bold reds to calming violets, the spectrum brings instant cheer. There’s no need for patterns or nail art tools just a steady hand and your favorite polishes.
The result? A bright, joyful manicure that feels spontaneous yet polished. It’s the perfect choice when you want something eye-catching but totally low maintenance.
How to do it:
- Gather your rainbow nail polishes.
- Paint each nail a different shade.
- Let dry and apply a top coat.
This cheerful design is quick and perfect for beginners who want to brighten their nails instantly.
4. Nude Nail Art Easy Design

There’s something effortlessly chic about nude nail art it’s the kind of subtle elegance that whispers rather than shouts.
A soft, neutral base provides the perfect canvas for creativity, whether you opt for a delicate gold foil, a minimalist line, or a single rhinestone accent.
The beauty lies in its simplicity; it’s polished yet understated, refined yet modern. Nude nails suit every occasion, blending seamlessly with any outfit while allowing just enough room to play with stylish, easy-to-do designs.
Steps:
- Apply a transparent base coat.
- Paint your nails with a nude pink shade.
- Add a thin contrasting stripe on one or two nails for subtle detail.
- Finish with a top coat.
This design suits those who prefer understated beauty.
5. Purple-Pink Floral Nail Art
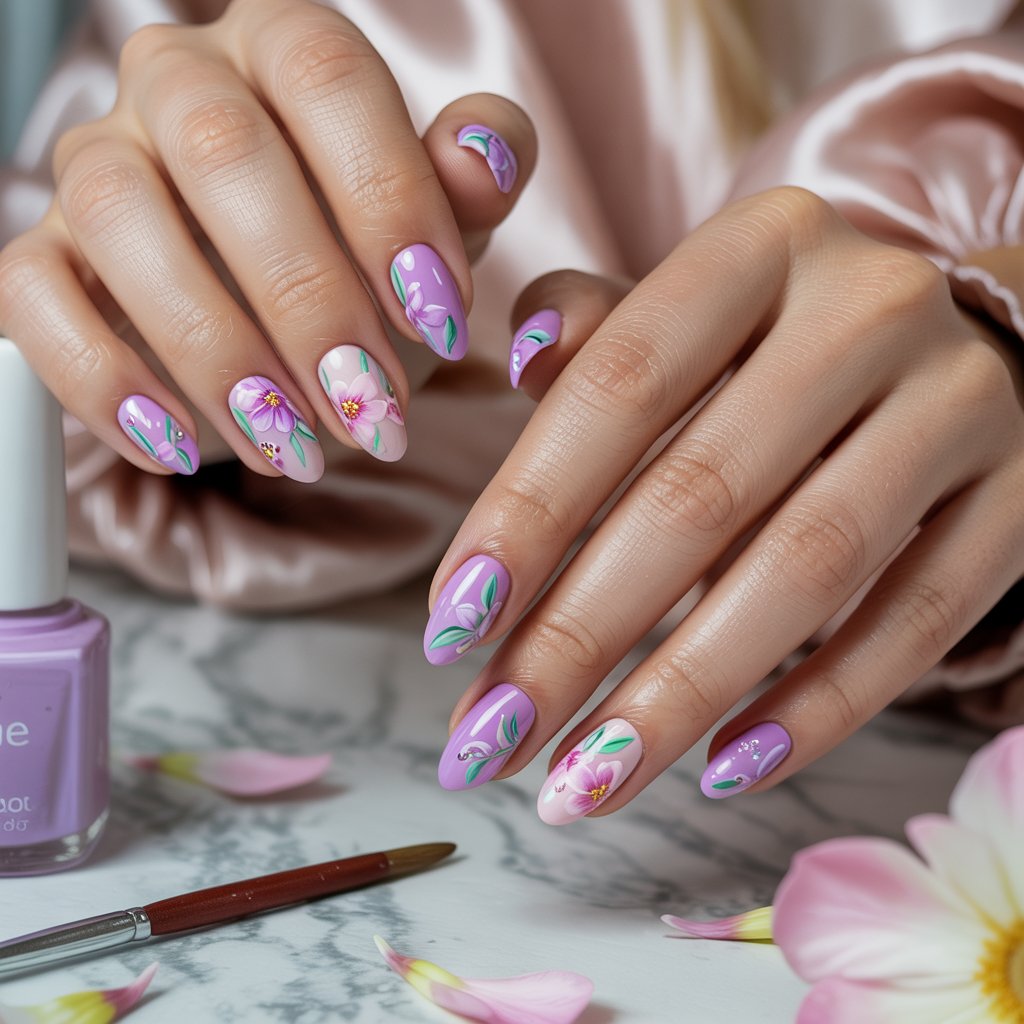
Celebrate the charm of spring with a graceful blend of purple and pink floral nail art. Imagine soft petals blooming across your nails some vivid and bold, others whispering subtle elegance.
Each design feels like a tiny bouquet captured in motion, combining intricate brushwork with playful pops of color. Whether you’re dressing up for a sunny brunch or simply craving something fresh and feminine, these dainty blossoms transform your manicure into a blooming work of art.
How to create it:
- Apply a base coat.
- Paint nails alternately in pink and purple.
- Use a thin brush or nail art pen to draw small flowers on one or two nails.
- Seal with a top coat.
This design is bright, pretty, and easy to achieve with a little practice.
6. Color-Splash Nail Art
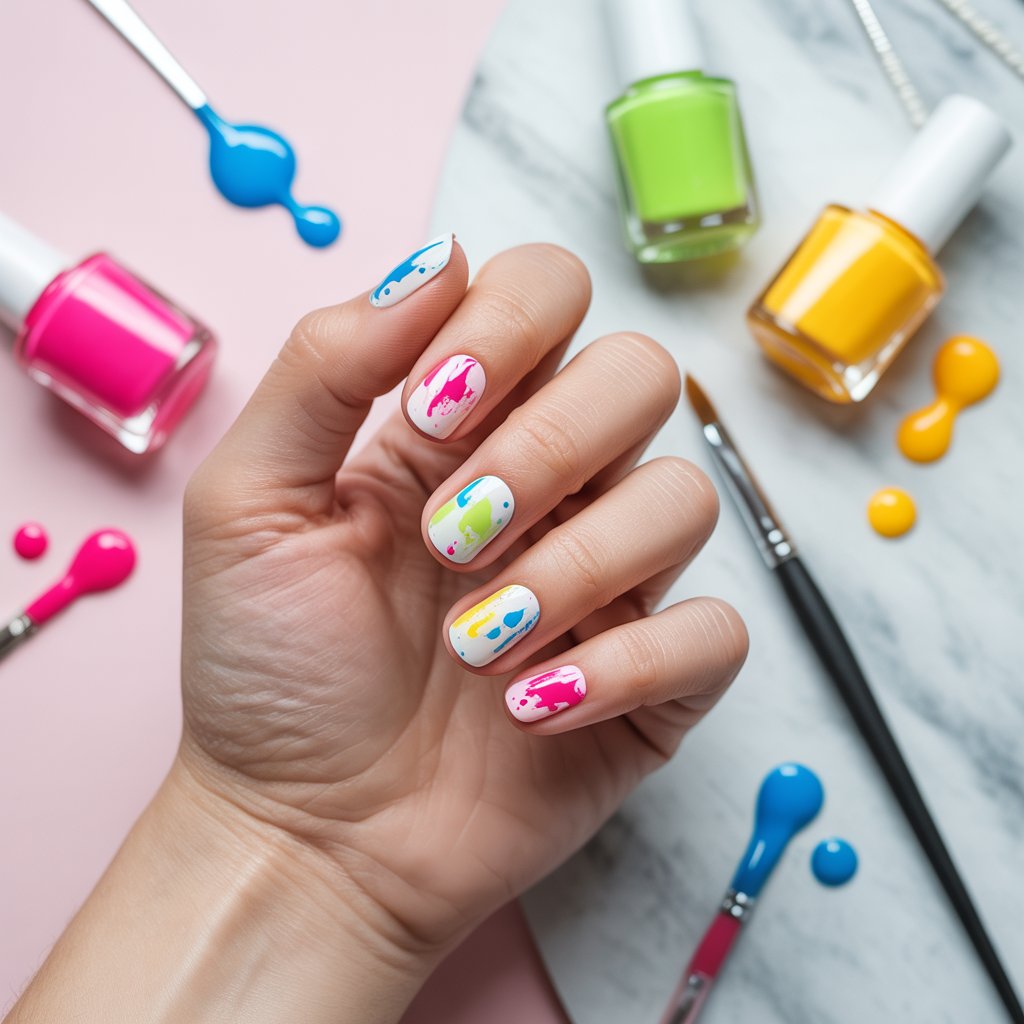
Unleash your inner artist with a color-splash nail design that’s anything but ordinary. Start with a crisp white base, then flick, splatter, or gently dab a mix of vibrant hues think electric blue, hot pink, citrus orange across your nails for a bold, abstract masterpiece.
The result? A spontaneous, eye-catching look that feels fun, expressive, and totally unique. No two nails will ever look the same, and that’s exactly the charm. It’s nail art with personality and a little bit of chaos.
How to do it:
- Paint two coats of white polish as the base.
- Using a fine brush, dip into different colors and flick or splash them onto your nails.
- Seal with a top coat.
This design is fun and unique, perfect for creative beginners.
7. Minimalistic Yellow Vibes
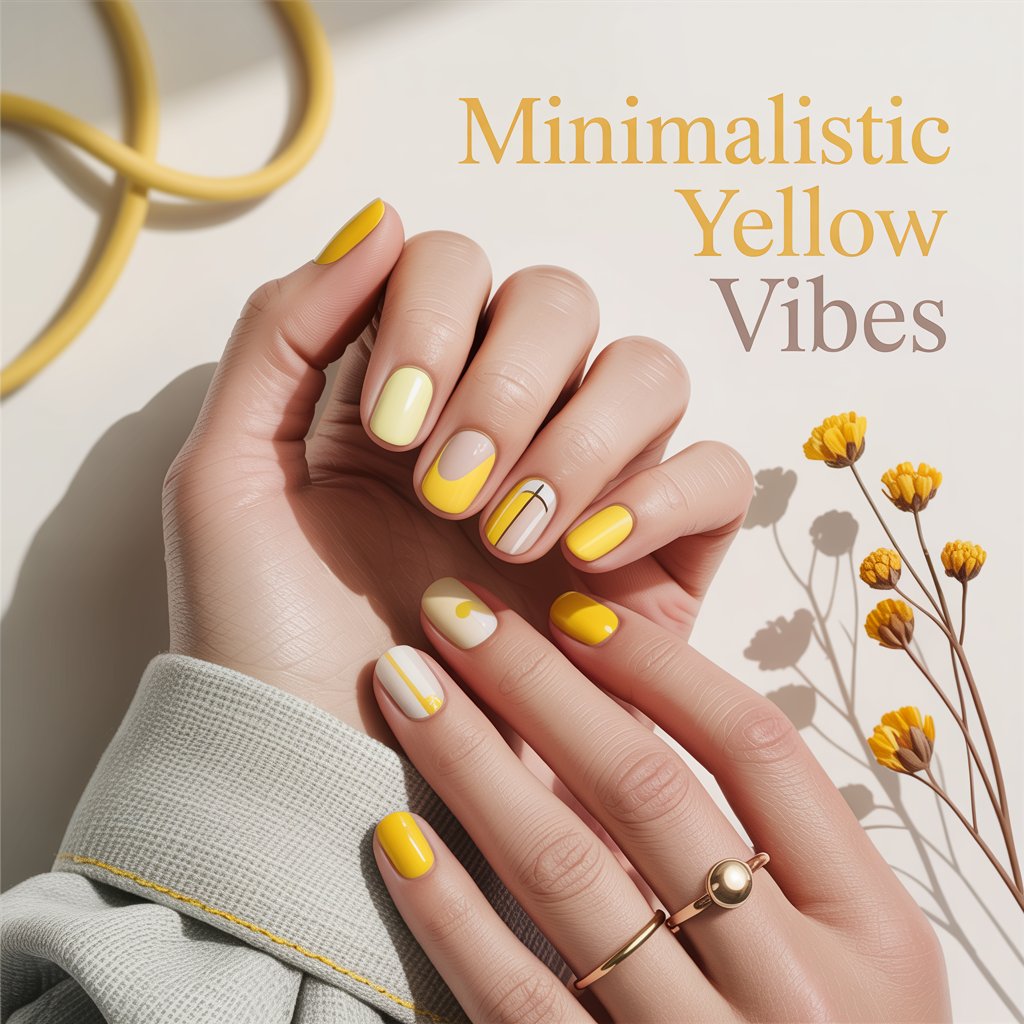
There’s something undeniably cheerful about yellow bold, vibrant, and full of sunshine. When paired with a minimalist approach to nail art, it creates a look that’s both striking and refreshingly simple.
Imagine soft pastel yellows, playful geometric accents, or even a single pop of color on an otherwise bare nail. It’s effortless, yet eye-catching.
Perfect for those who love a clean aesthetic with a dash of personality, minimalistic yellow nails are the kind of subtle statement that lingers in memory.
Steps:
- Paint your thumb, index, and pinky nails solid yellow.
- Leave the middle and ring fingers plain or paint just the tips yellow.
- Finish with a top coat.
This design is cheerful and easy to do, adding a pop of sunshine to your look1.
8. Red Heart & Tip Nail Art
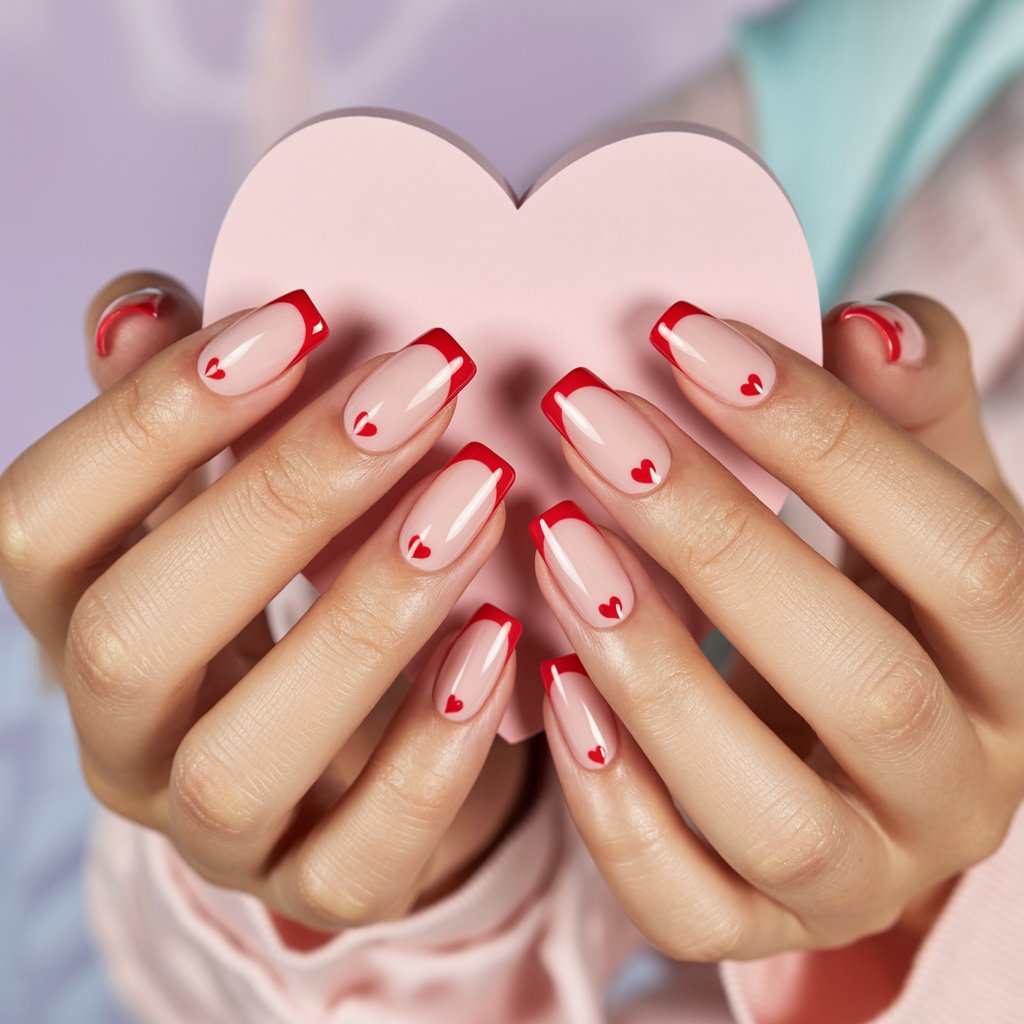
Softly flirtatious yet undeniably charming, this nail art blends the timeless allure of red tips with the delicate sweetness of tiny heart accents.
Each nail becomes a tiny love letter, whispering romance in the subtlest way. Whether you’re dressing up for date night or simply indulging in some self-love, this look strikes the perfect balance between playful and elegant.
It’s simple, yes but simplicity, when done right, speaks volumes louder than any bold design ever could.
How to do it:
- Apply a base coat.
- Paint red tips on your nails.
- Draw small hearts on the opposite side of the tip using a fine brush or dotting tool.
- Seal with a top coat.
Perfect for beginners wanting a cute, love-themed design.
9. Green Marble Nail Design
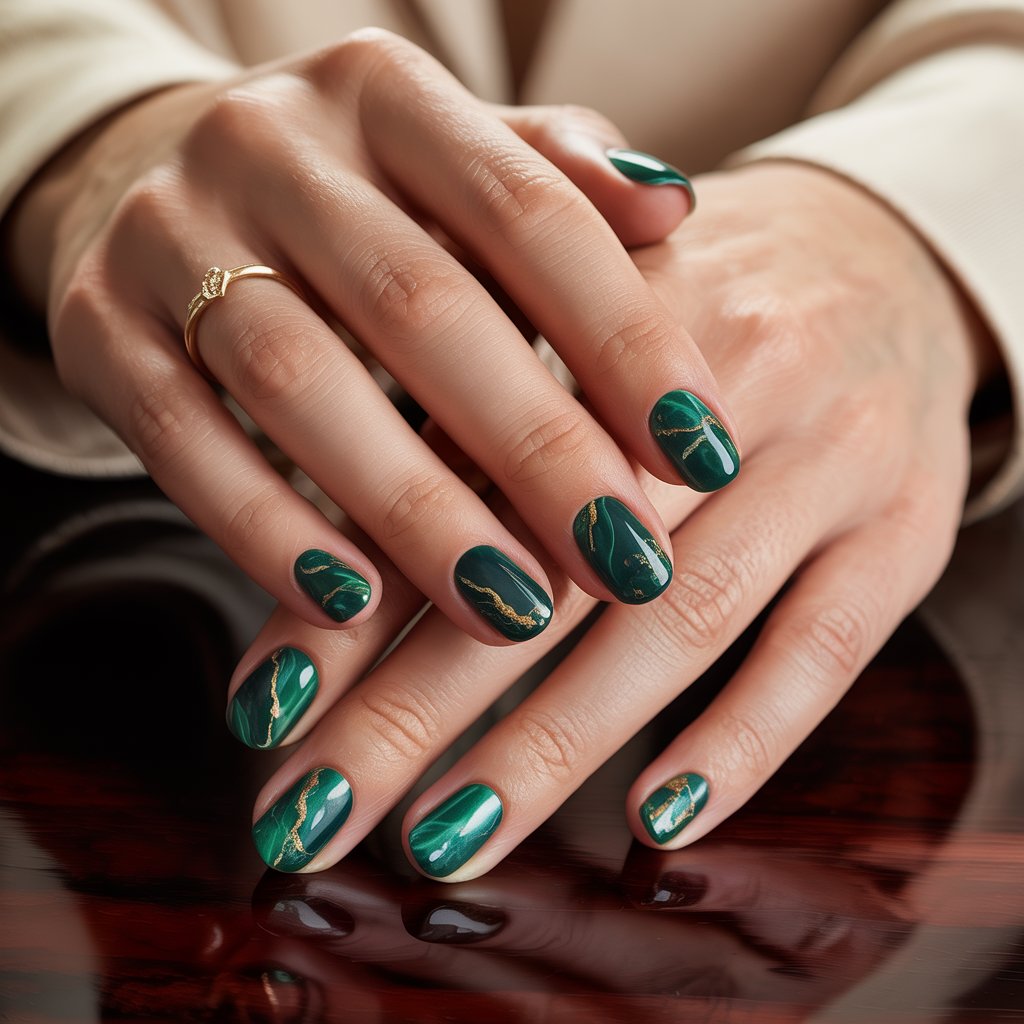
Swirling with elegance, green marble nail designs capture a luxe, nature-inspired vibe that’s both bold and refined. While they may look intricate, achieving this chic effect is easier than it seems especially with the right tools and a touch of patience.
Some designs channel deep emerald tones with veins of gold or white, while others embrace soft jade for a subtle twist. Whether you’re after drama or delicate charm, green marble nails offer an effortlessly artistic finish.
Steps:
- Fill a cup with water and add drops of 2-3 green nail polishes.
- Use a toothpick to swirl the colors.
- Dip your finger into the water to transfer the marble pattern.
- Clean excess polish and seal with a top coat.
This technique creates a unique pattern on each nail.
10. Little Hearts Nails
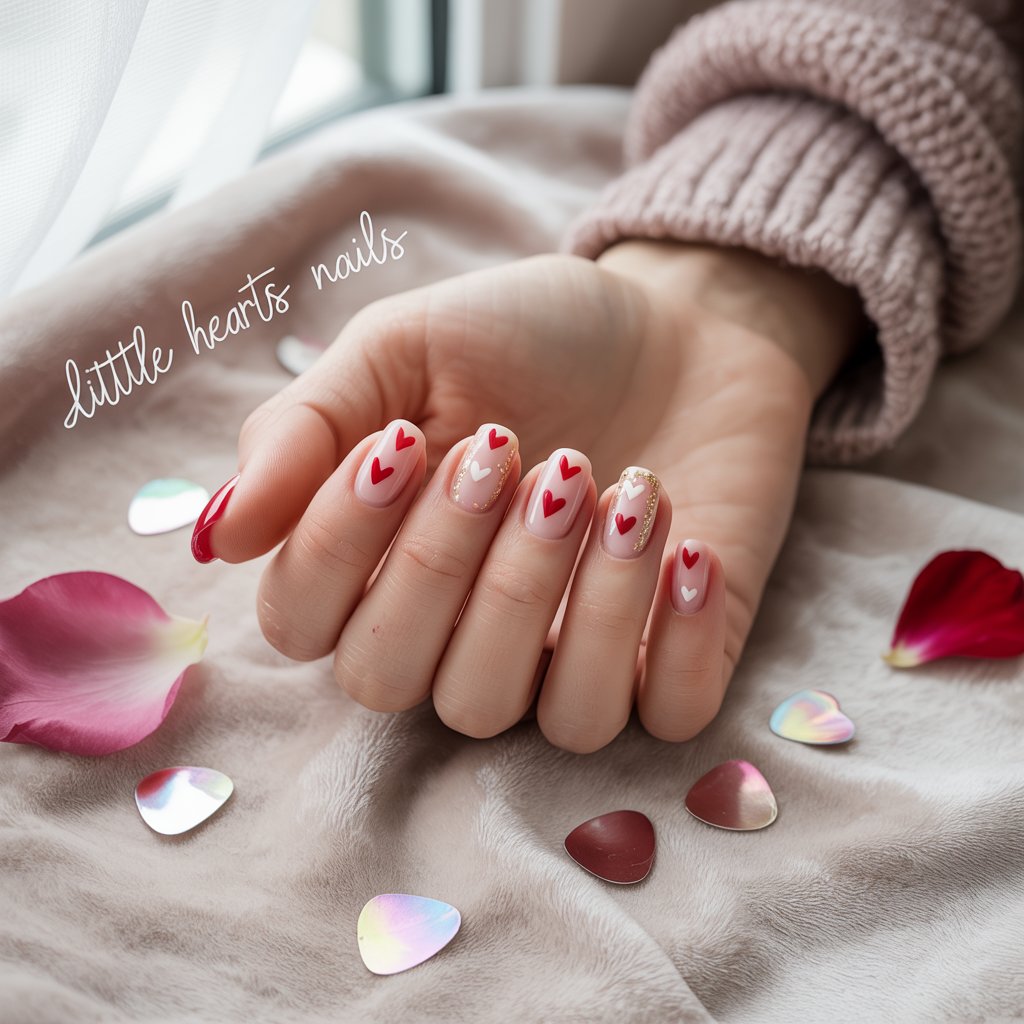
Don’t let their dainty look fool you little heart nail designs are surprisingly simple to master and irresistibly charming.
Whether you’re aiming for a playful accent or a romantic statement, these miniature motifs add just the right amount of whimsy.
Use a dotting tool or even a toothpick to shape them with ease. Pair them with soft pastels for a dreamy vibe, or go bold with vibrant shades. Either way, tiny hearts bring a sweet twist to any manicure.
How to do it:
- Apply your base color and let dry.
- Use a dotting tool to place two dots close together.
- With a thin brush, connect the dots with a ‘v’ shape to form a heart.
- Fill in the heart and repeat as desired.
- Finish with a top coat.
This design is charming and gets lots of compliments.
11. Minimal Stripe Nail Art
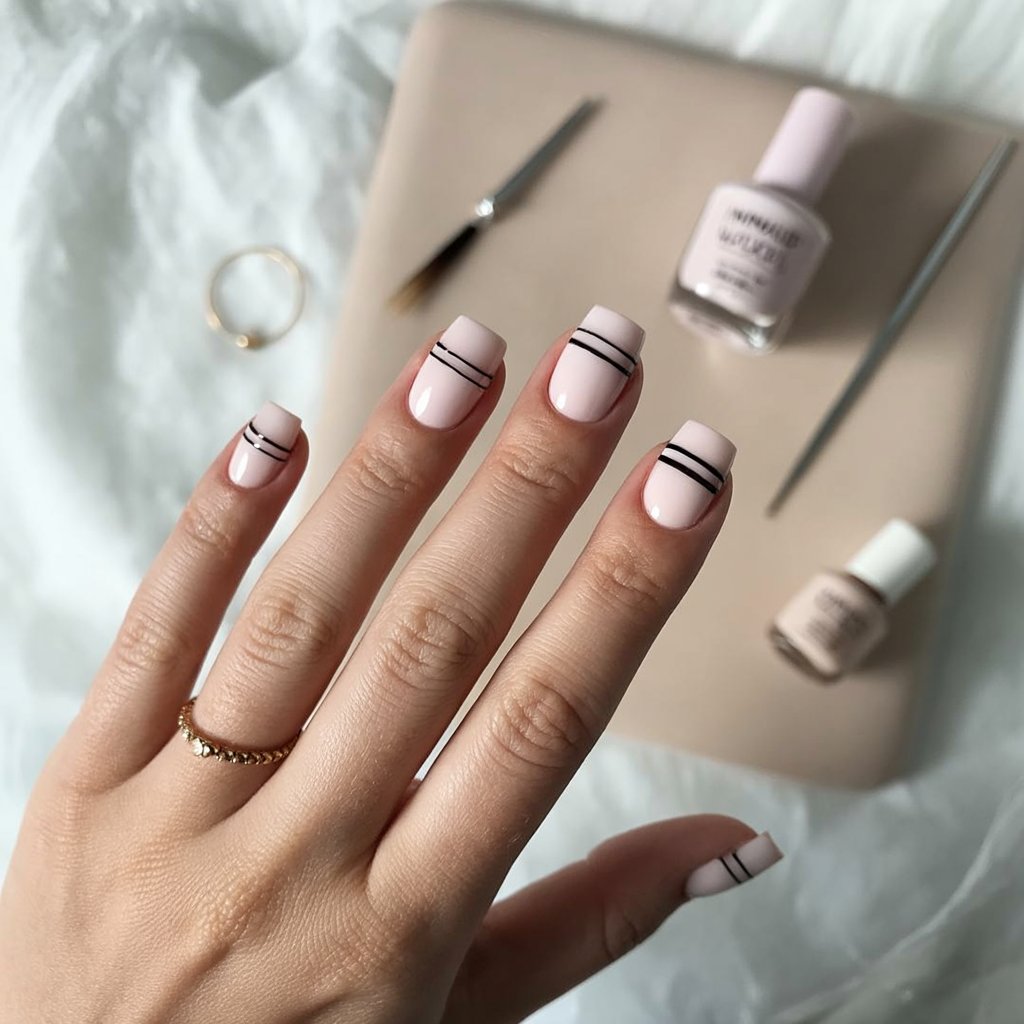
Minimal stripe nail art is the epitome of chic simplicity. With just a bit of striping tape, even beginners can create sharp, runway-worthy lines that instantly elevate a manicure.
Whether you opt for bold contrasts or subtle tonal shifts, stripes lend a refined, modern flair. Try verticals for elongation or horizontals for edge. The beauty lies in the balance clean, minimal, and effortlessly stylish. It’s a small detail, yet it speaks volumes in the language of nail design.
How to do it:
- Paint your nails a pastel pink or any base color.
- Once dry, place golden striping tape horizontally or vertically.
- Paint over with a contrasting color if desired.
- Remove tape carefully and finish with a top coat.
This design is subtle yet stylish.
12. Leopard Print Simple Nail Art
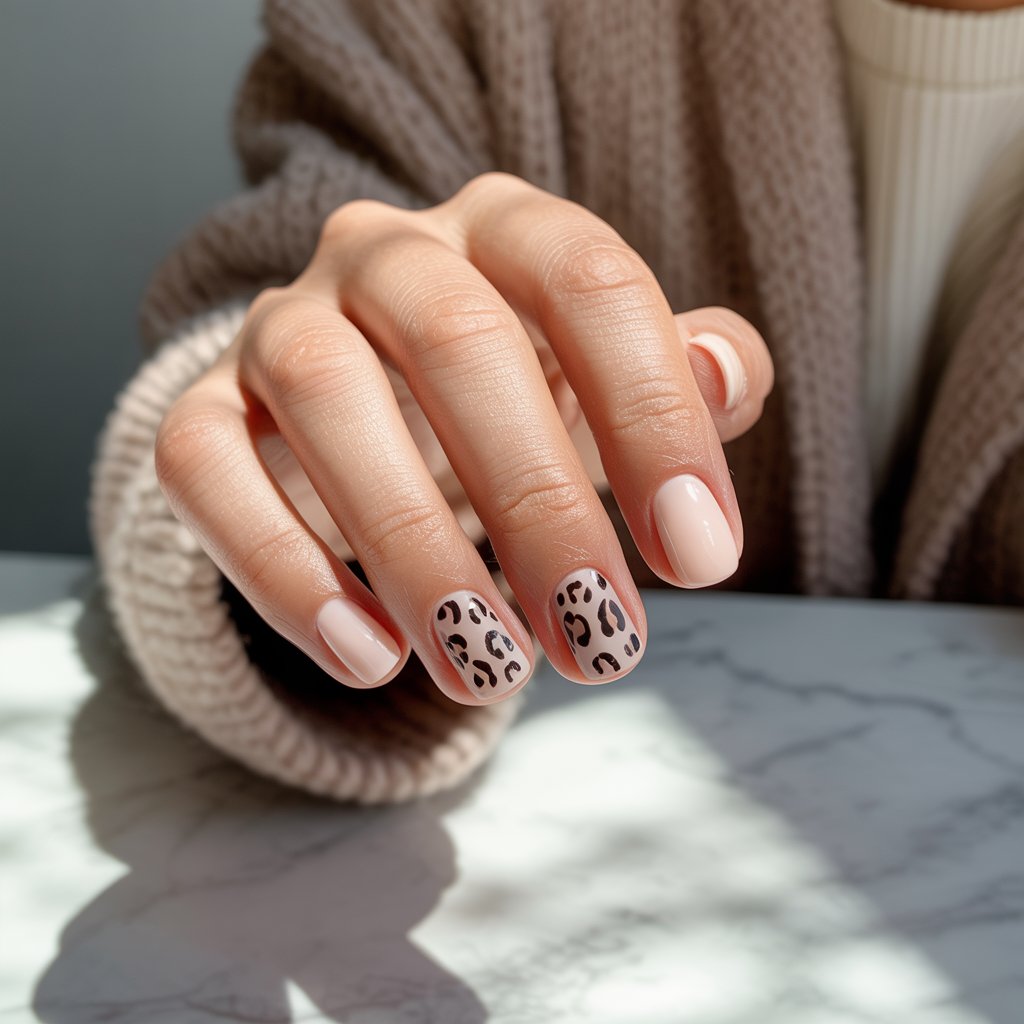
Craving a fierce, fashion-forward manicure without the hassle? Leopard print nail art is your go-to. This wild design strikes the perfect balance between edgy and effortless.
Start with a neutral base, then dab on irregular black and brown spots no perfection needed! The beauty lies in its playful chaos.
Whether you’re hitting the town or just want a pop of personality, this bold pattern adds instant flair with minimal effort. Trust us your nails will roar with style.
Steps:
- Apply a lavender base coat.
- Use a fine brush to draw small black and gold spots mimicking leopard print.
- Seal with a top coat.
This wild design is fun and surprisingly simple for beginners.
Conclusion
Starting with simple nail art designs is a great way to build your skills and confidence. These 12 designs offer a range of styles from minimalist to colorful and trendy that you can easily recreate at home.
With just a few tools like dotting tools, striping tape, and fine brushes, you can transform your nails into stunning works of art. Remember, practice makes perfect, so don’t be afraid to experiment and have fun with your nail art journey!
FAQs
Q: What basic tools do I need to start nail art?
A: Essential tools include a base coat, top coat, nail polishes in various colors, dotting tools or alternatives like bobby pins, striping tape, and fine nail art brushes.
Q: How can I make my nail art last longer?
A: Always use a good base coat and top coat to protect your nails and seal your design. Avoid activities that chip your nails immediately after painting.
Q: Can I do nail art without professional tools?
A: Yes! Many designs like dots, stripes, and hearts can be done with household items like toothpicks, bobby pins, and tape.
Q: How long does it take to do simple nail art at home?
A: Depending on the design, it can take from 15 minutes to an hour. Start with simpler designs like dots or stripes and gradually try more complex ones.